Free Crochet Pattern: How to Crochet The Audrey Dress


Everyone LOVED the crochet pattern I shared from Leah King, on making a boho tealight lantern cover here – so I am now sharing her sweet crochet Audrey Dress, with the full pattern here, plus link to the pattern on Ravelry.
Leah is very very talented, very generous and a lovely woman to boot. So if you have always wanted to try a crochet dress, now is the time! Big thanks to Leah. With a small online presence on Instagram and Facebook, Leah takes orders online via enquiry. She attends the local markets each year and has a great deal of support locally, selling out at her last two markets. You can view her work on Facebook – ‘Snakewood and Grace’ – or Instagram @snakewoodandgrace.
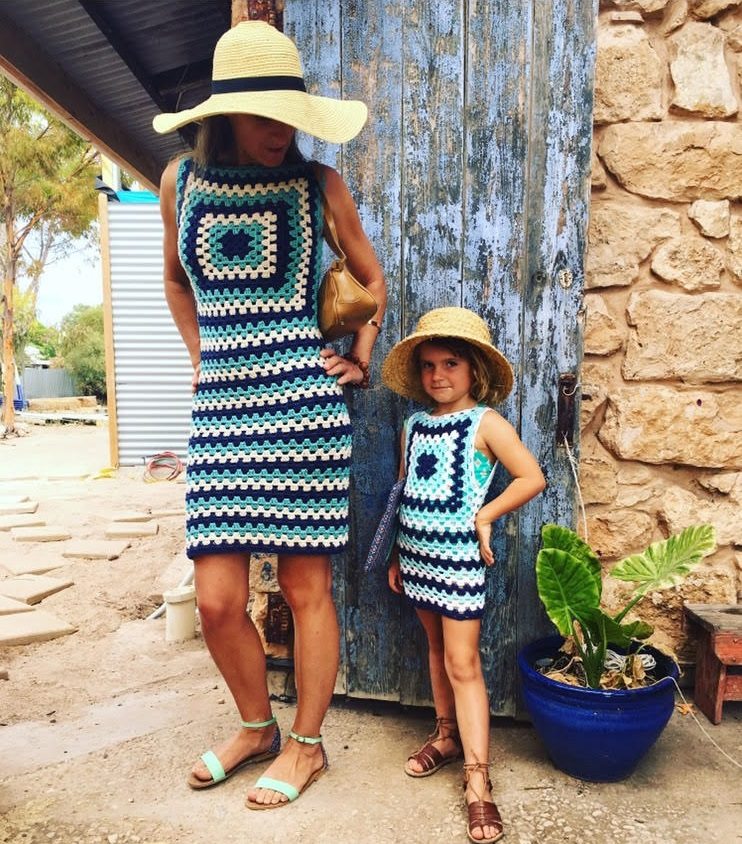
She is in the early stages of setting up a web page and blog which she hopes to add more to as soon as time and work permits. How did the Audrey dress come to life? This time last year Leah was making a granny square throw rug in cotton. “My sister invited me to the local races whose theme was ‘vintage in March’ – but I don’t have anything to wear, I thought…….then I looked at the retro crochet piece on my lap and thought….I wonder????……. And that’s how my Audrey Dress was made! It’s also a FREE pattern on Ravelry and has over 6000 downloads! If you can make a granny square, you can make this dress!” says Leah.
 How to crochet the Audrey Dress
 How to crochet the Audrey Dress
Pattern can be modified to suit all sizes.
Yarn: 8ply cotton or wool, 4mm hook. Feel free to choose your own colour scheme but to achieve the look pictured do two rounds of each colour (ie 2 rounds black, 2 rounds white and so on).
Gauge is not important, continue making granny square until it measures from top of one shoulder to the other. (For this reason you can also use smaller or larger ply with suitable hook size).
Step 1
Rd 1; ch 4, ss in first ch to form a ring. ss into ring, ch 3 (counts as first dc), 2dc into ring, (ch 2, 3dc into ring) 3 times. Ch 2, ss into 3rd ch of starting ch 3.

Step 2
Rd 2; TURN your work, ss into 2ch space, ch 3 (counts as first dc), 2dc into ch space, ch 2, 3dc into same ch space, (ch 1, 3dc, ch 2, 3dc into next chain space) 3 times. Ch 1, ss into 3rd ch of starting ch 3. Fasten off. Change colours

Step 3
Rd 3; TURN your work, join with ss into any 1 ch space, ch 3 (counts as first dc), 2 dc into ch space. Ch 1, 3dc, ch 2, 3dc in ch 2 corner space, ch 1.
Continue working in pattern (3dc in each ch 1 space, with 1 ch between groups), corners are (3dc, ch 2, 3dc) in each ch 2 space, ch 1 between corner and next 3dc group. Be sure to turn your work at the end of each round and ss into the next ch space

Step 4

some of Leah’s amazing crochet work
Hi. I love this dress. Is the original made in an aran cotton? Thanks for any help.
Hi I am not sure sorry! But it is lovely