Tips On How To Use Chalk Paint For Your Upcycling Projects

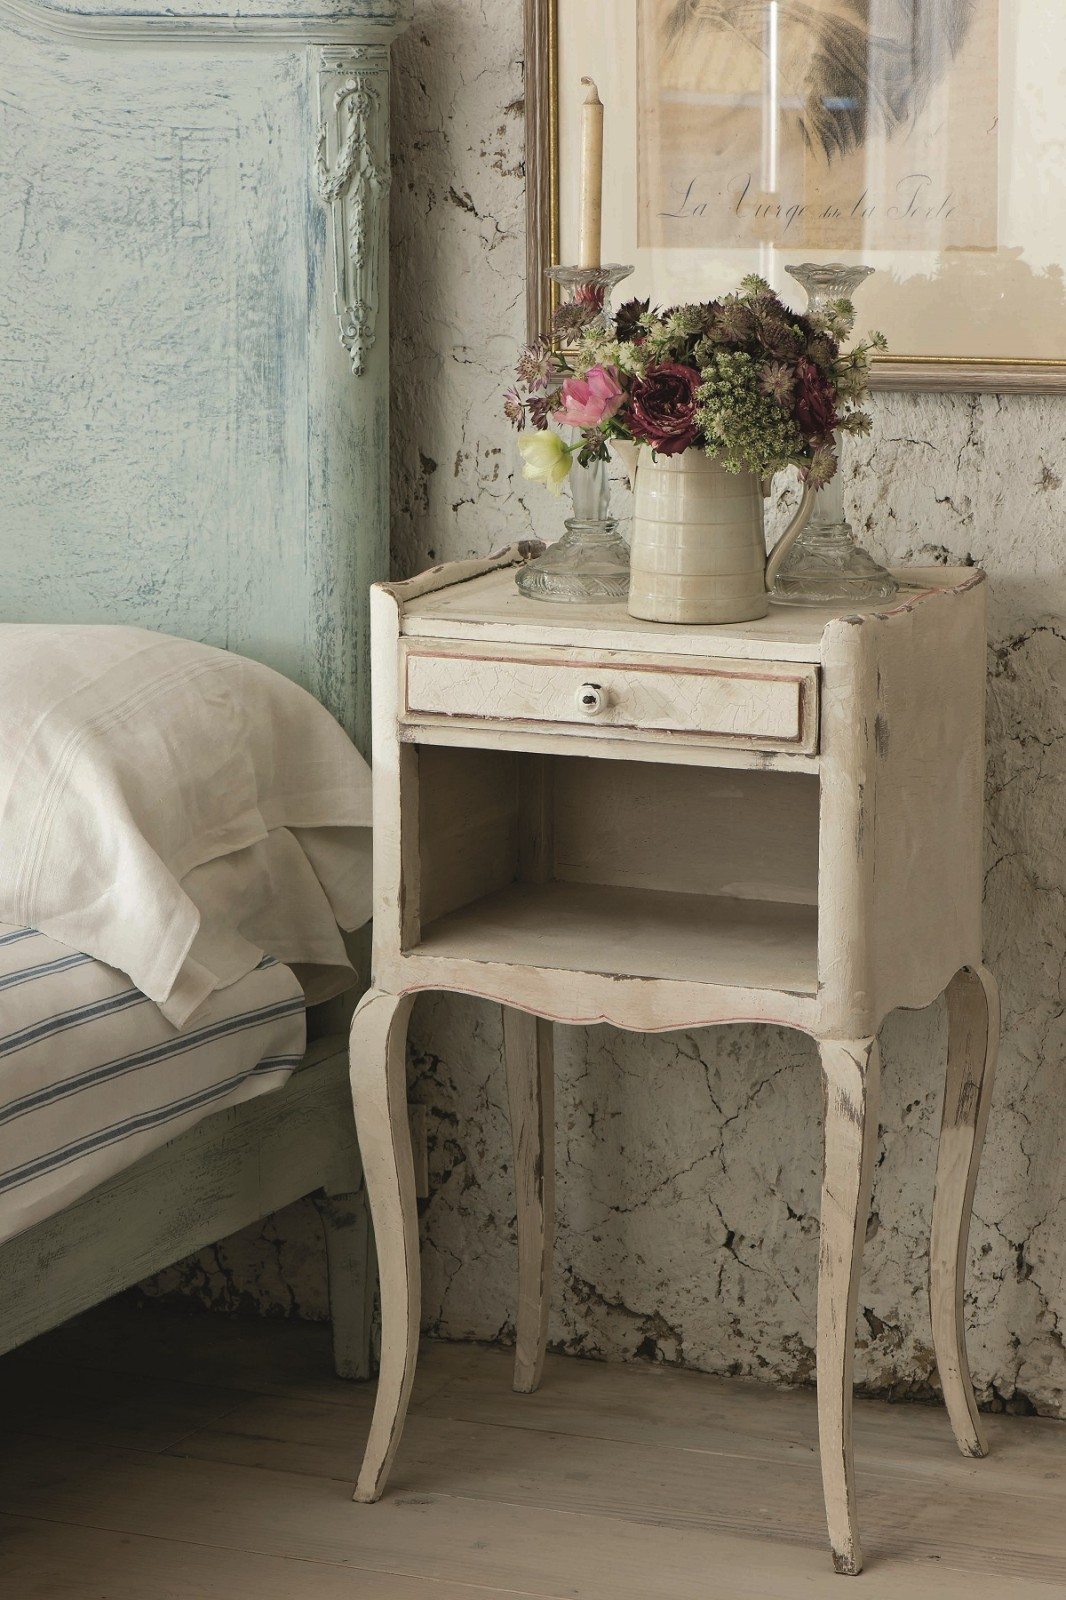


french country style wardrobe painted with chalk paint by annie sloan
Have you caught the Chalk Pain bug yet? I first discovered Chalk Paint by Annie Sloan, about 4 years ago. I somehow stumbled upon it on the Internet and became hooked on the idea of getting my painty little hands on this stuff! So I started searching. First I went into a hardware store. Nope, no such thing on the shelves. “Oh we have had a few people asking about that’, said the woman working in the paint department. She showed me blackboard paint. I advised her this was not what I was after and moved on to where I thought I may find it over at a specialty paint store. They suggested their Milk Paint. Nope, not what I am after. I eventually found it on an online store, and just like that I was hooked. If you have not used it I am sharing my tips on how to use chalk paint for your upcycling projects.
And if you have not used Chalk Paint you may be wondering what the fuss is all about.
For me there were five major things:
1) Very little preparation
2) No stripping (the furniture, not me!)
3) The ability to distress beautifully
4) The ability to stick to just about any surface
5) The low VOC and environmental creds
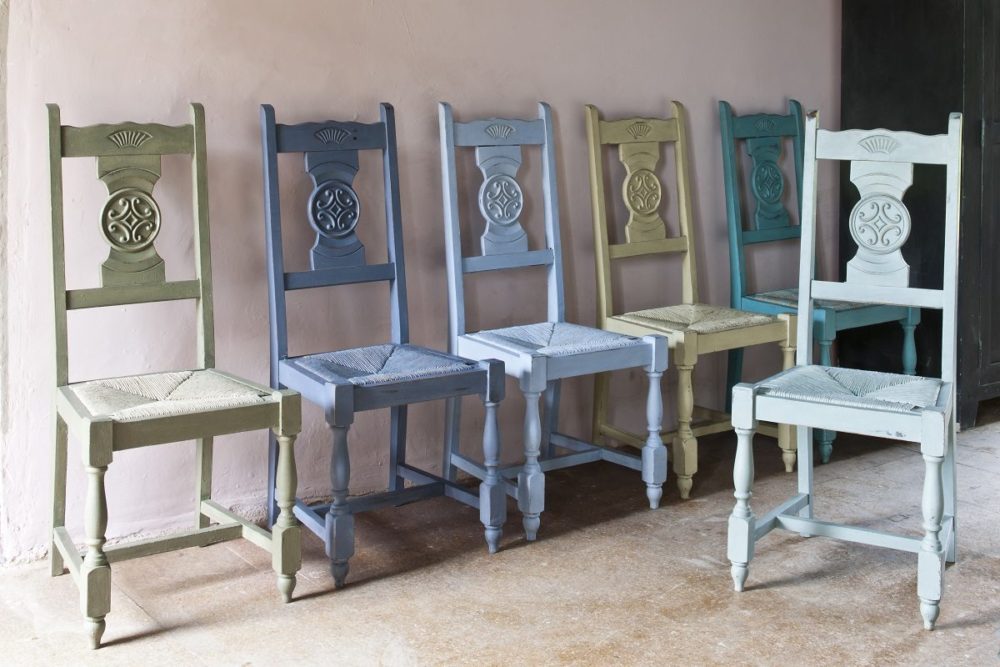
And my relationship with this paint has just gotten stronger over time. In particular I am a big fan of Chalk Paint by Annie Sloan. I totally love it and my family joke that they had better not stand still or they may get painted with Chalk Paint!! There are a range of products on the market now. If you are a first timer considering starting to work with Chalk Paint I think sometimes it is easy to presume people will just know what to do, but that is not true, we all start from the same place. There are lots of great blogs and articles and videos out there to help you too.
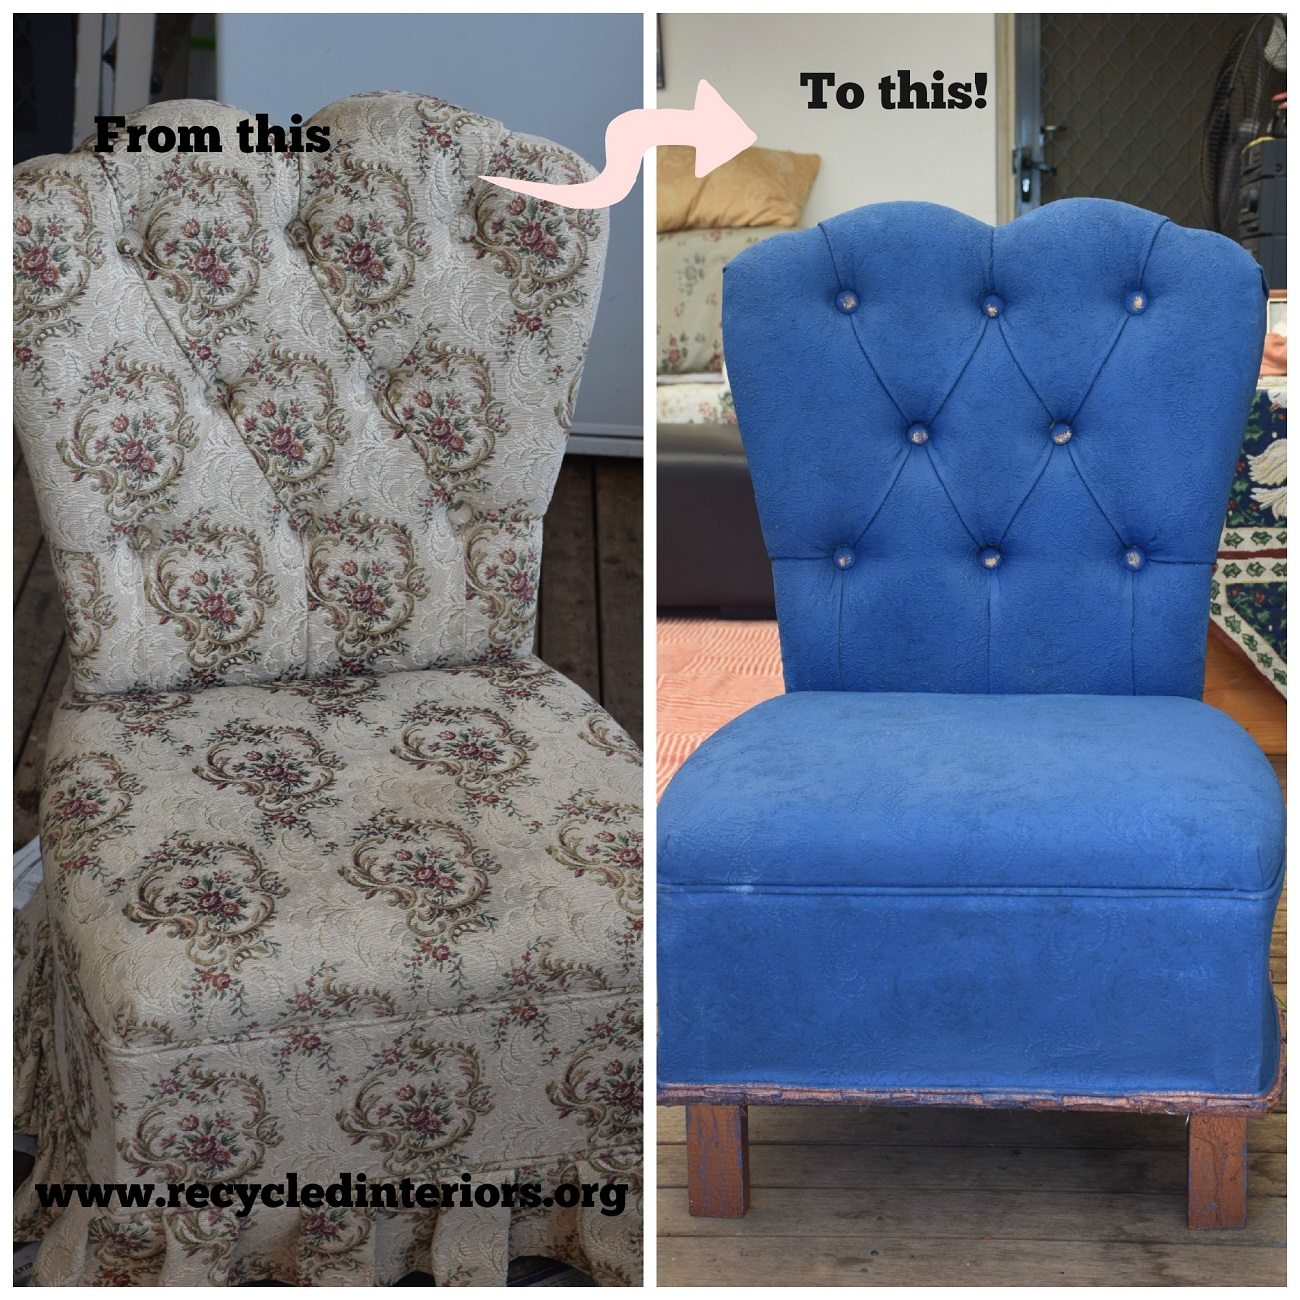
My upcycled fabric chair with chalk paint by Annie Sloan
Tips on using chalk paint
PICK YOUR BRUSH
An oval bristle brush works perfectly. You can use any brush you would like, but the hog bristle brushes with a rounded end work really well for this kind of painting. To create the smoother look it is recommended to water the paint down a little and use a synthetic fibre flat brush.
CLEAN THE PIECE
Clean the piece you are painting thoroughly with water and use a sugar soap or similar if there are stubborn marks or greasy areas. This is a very important step as many people find their furniture chips and peels far more easily if this step is missed. Dust, dirt, grime and years of furniture polish, need to be cleaned away, giving a great surface for the paint to adhere.
LIGHT SAND
You usually don’t need this step at all and most of the time I have not sanded. Any flaking or tacky areas however will need a very light sand. I am talking a few minutes with a light sandpaper by hand. I use a medium grit sanding sponge. Shiny pieces, especially veneer or metals, will also benefit from a light sand first to give the piece some “tooth” creating a better surface for the paint to stick.
GIVE THE PAINT A SHAKE OR STIR, ESPECIALLY IF IT IS THE FIRST TIME YOU OPEN IT
Sometimes the paint will need more of stir than other times. I use an old knife or stick. Give it a good shake first, open the tin and then give a bit of a stir to blend.
FILL YOUR BRUSH AND PAINT!
Dip your brush in and tap off, so there is no paint dripping. If you want a smoother finish, you will add a little bit of water to some paint you decant into another container and use a flat brush. You can also add a lot more water and create a wash. Or just paint straight from the tin with a rounded brush to create that lovely textured aged look.
Dry brushing is particularly useful when you want to get a look where the piece is not totally covered, and have some of the underlying timber showing through. You only take a small amount of paint onto the brush, even just dipping it into the lid, and then paint it on very lightly. You can go over areas in various directions and strokes to create this dry brushing approach. It also dries very quickly
DECIDE IF IT NEEDS A SECOND COAT
In some cases you won’t need or want a second coat. It depends on the piece and what look you are after. Shinier pieces will need at least 2 coats.
CHOOSE YOUR WAX , BUFF AND SHINE
There are various ways you can finish your piece. In general a soft wax is recommended for indoor projects – Annie Sloan have a great range of waxes. Outdoors the wax is not recommended as the sun will melt it. The trick is to apply with a bristle brush, or a soft lint free cloth. Get the wax into all areas of the paint. It is better to add lots of wax and then wipe off, than too little. You want it to sink in and protect the paint. Be sure and spread the wax all over the piece and make sure it sinks in to the paint.
If choosing a dark wax, apply a clear first, followed by the dark wax in the areas you want to use it. It works well on moldings and crevices in the paint. Then wipe off excess with the clear wax.
Buff the piece once dry, and again the next day if you want a higher shine.
SAND AND DISTRESS
Use a fine sandpaper – a 220-240 grit to go over the piece once waxed and distress in any areas you would like. It looks fabulous when you choose the areas the piece would naturally get knocked about, such as the edges and corners. You can do as much or as little as you like. Apply some wax over the areas you have distressed and wipe off again.
And that is that! Furniture finished with Chalk Paint and wax will cope very well to everyday wear and tear. But you need to be careful with it while it hardens. It is recommended to:
- Let your new finish harden and cure for 30 days or longer before placing items that may scratch the surface.
- Avoid excessive water.
- Use coasters under water glasses and placemats on dining tables.
- Clean with a soft cloth and avoid all liquid furniture polishes.
- To clean marks or stains, use a slightly damp cloth or chamois with a little mild soap.
- Keep your piece away from extreme temperatures or humidity.
TELL US
Have you used Chalk Paint and if so what have you painted? If not, would you give it a go? Feel free to drop questions below for me to answer 🙂
Helen
xx
Have just read the blog on how to use Annie Sloan Chalk paint! Thank you Helen you have explained it so well. Have a good day.
thank you for letting me know Jan Withers it means so much to know people find the posts useful xx
thank you Jennifer Reid Helmuth xx
Thanks Helen, with your easy and simple instructions on how to use Annie Sloan Chalk Paint, you have inspired me to have a go.
oh thank you for letting me know Lindy Wells that means a lot to me, would love to see what you do! Have fun!
Fabulous post! Thank you Helen! I am looking forward to giving chalk paint a go!!!!
Following
welcome Penni Moussa! have fun!
Hi Cato 🙂 I wanted a rustic, unfinished look for this piece. I have other pieces I have finished differently and that is the beauty of Chalk Paint. Thanks for sharing 🙂
thank you Penni!! Good luck and have fun
Shared to my Page so I can refer to it when I start!! Thank you 😉
oh great! Megan Patricia Dunn >3
Thanks for this! So helpful and yes, inspirational!
ASUnfolded thank you for sharing!
Is the chair recovered or painted ?? U0001f609
How does that work? Is the chair just then decorative or functional? Would I have a blue bottom on a hot day!
Thanks for the tips. I want to put a stencil on top of my piece too, like in the before and after pics.Also Porters have Chalk Emulsion, is it the same as Annie Sloan?
no! You sand and wax. It’s chalk paint. Amazing!
Tried to use chalk paint and worked great. I couldn’t perfectly keep the piece of furniture away from humidity and high temperature but still had success. Turns out didn’t make any other crucial mistakes. My living room door is now shining and everyone thinks it’s made of redwood. Thank you for this useful guide.
oh fantastic to hear! So nice when you get those sort of results 🙂
I am curious to know how well the paint held up on the upholstered chair? Did you wax it?
incredibly well! Yes you wax and sand just as with timber 🙂